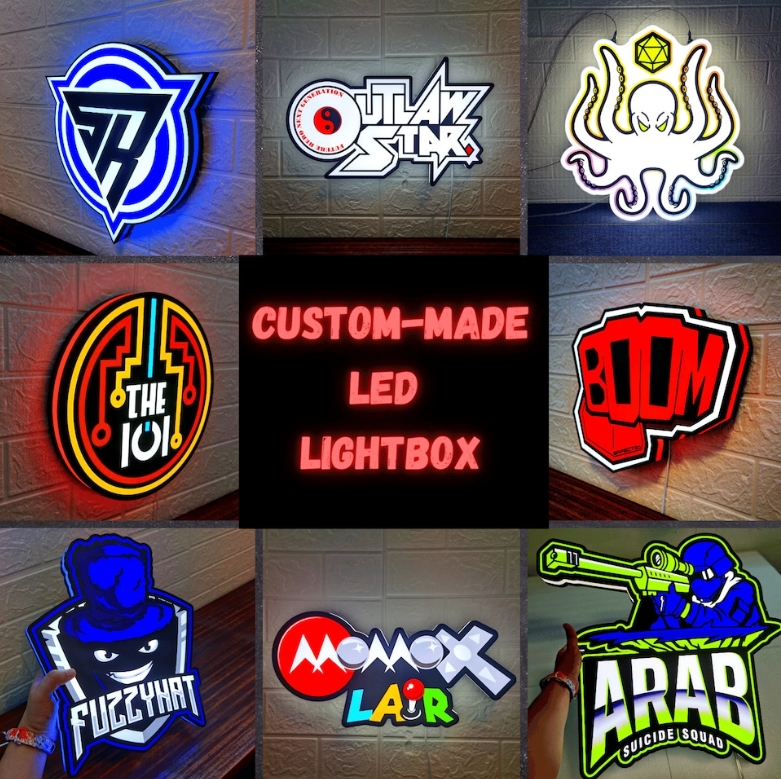
A logo lightbox sign can make your storefront look professional and attract customers’ attention. However, installing and maintaining one can be daunting if you’re not familiar with the process. This guide provides you with a step-by-step approach to installing and maintaining your own logo lightbox sign, ensuring that your brand shines bright for years to come.
Pre-Installation Preparation
Selecting the Ideal Location
Choosing the right location for your logo lightbox sign is crucial. The sign must be visible to passersby, but it should not overshadow other neighboring signage. The best position is on a structure frequently used by people or vehicles. Make sure the location enhances visibility without causing visual clutter.
Measuring Installation Space
Before installing the logo lightbox sign, measure the area where you plan to place it. Measure the length, breadth, and height of this space to determine the appropriate size for your sign. Ensuring there’s enough room to accommodate your lightbox sign with your brand on it is essential for a successful installation.
Assessing Power Supply Needs
Consider your logo lightbox sign’s lighting requirements when determining power supply needs. LED lights come in two primary color temperatures: warm white and cool white. Warm white lights are more yellow, providing a cozy ambiance, while cool white lights are more blue and cooler. The wattage of the bulb determines the brightness. Choose the appropriate lighting based on your desired effect and visibility needs.
Acquiring Necessary Permits (if applicable)
You may need a permit from your local city or county to install a logo lightbox sign on your property. Contact local authorities to inquire if a permit is necessary. They can provide detailed information about your specific situation and ensure that your installation complies with local regulations.
Installation Process
Assembling Required Tools and Equipment
Before you begin, gather all the necessary tools and equipment for the installation. You will need:
- Logo lightbox
- Measuring tape
- Level
- Power drill
- Drill bits
- Screws
- Wall anchors
- Screwdriver
- Pencil
- Electrical wiring
- Wire strippers
- Electrical tape
Installing the Logo Lightbox on the Wall or Facade
- Find the Installation Location: Ensure there is a nearby power outlet and that the location is visible from the street.
- Locate Studs: Use a stud finder to locate studs behind the wall. Drill holes through the wall and into the studs to secure your sign with screws.
- Position the Lightbox: Place your lightbox sign in position, ensuring it is level. Use a level to verify that the sign is not crooked.
- Attach Mounting Brackets: Secure mounting brackets to the back of the lightbox sign with screws. Place the brackets near each corner for tight, secure attachment to the wall or facade.
Connecting the Electrical Power
Connecting the power source is straightforward. Connect the power connector to your power source and then connect the other end of the cable to your logo lightbox. Follow the instructions provided with your power supply box to ensure a safe and secure connection.
Maintenance & Care
Routine Cleaning and Dusting
To keep your logo lightbox sign looking new, regularly clean it with a mild detergent and water solution. Use a soft cloth or a microfiber cloth to avoid scratching the sign’s surface. Avoid using paper towels or abrasive cleaners as they may damage the sign.
Inspecting and Replacing Light Sources
Periodically check the LED modules or bulbs in your logo lightbox sign. If you notice the lights dimming or flickering, it may be time for a replacement. A professional technician can handle this task efficiently. Inspect your lightbox sign at least once a year to ensure it remains in good condition. Flickering lights, especially red ones, may indicate a power source failure or the need for an LED module replacement.
Periodic Electrical Connection Inspections
Regularly inspect the electrical connections on your lightbox sign to ensure they are in good working order and free from corrosion or damage. This maintenance step is crucial to prevent electrical failures and ensure your sign remains brightly lit.
Çözüm
Proper installation and regular maintenance are key to ensuring your logo lightbox sign remains an effective and attractive feature of your storefront. By following this guide, you can create a durable, high-visibility sign that enhances your brand’s presence and attracts customers. Invest in your logo lightbox sign and keep it shining bright for years to come.


Yorum Bırak