Signage is an indispensable aspect of any business or organization, playing a crucial role in wayfinding, promotion, and information dissemination. A well-crafted sign not only aids in navigation but also significantly impacts a company’s success by enhancing brand visibility and communicating key messages effectively. The process of signage manufacture involves multiple critical steps, from initial design to ongoing maintenance. This comprehensive guide delves into each phase of signage manufacture, providing detailed insights to help businesses create impactful signage solutions.
Step 1: Design
The design phase is the foundational step in the signage manufacturing process. This stage involves conceptualizing a sign that meets the client’s specific needs while ensuring visual appeal and clarity. The key elements to consider during the design phase include:
- Client Requirements: Understanding the client’s objectives, target audience, and the message they wish to convey.
- Visual Appeal: Creating an attractive design that captures attention and aligns with the brand’s identity.
- Legibility: Ensuring the sign is easy to read from the intended distance and under various lighting conditions.
- Materials and Colors: Choosing appropriate materials and colors that enhance visibility and durability.
- Typography: Selecting fonts that are readable and consistent with the brand’s style.
- Compliance: Adhering to local regulations and codes that govern signage design and placement.
Designers typically use specialized software to create digital mockups of the sign, allowing clients to visualize the final product and provide feedback. This collaborative approach ensures the design meets all specifications before moving to the next phase.
Step 2: Material Selection
Choosing the right materials is crucial for the durability and effectiveness of the sign. The material selection process depends on several factors, including the sign’s purpose, location, and environmental conditions. Common materials used in signage manufacture include:
- Metal: Known for its strength and durability, metal is often used for outdoor signs. It can be cut, welded, and finished in various ways to achieve different looks.
- Plastic: Lightweight and versatile, plastic is suitable for both indoor and outdoor signs. It can be molded, cut, and printed on easily.
- Wood: Offering a natural and rustic look, wood is typically used for indoor signs or in environments where a traditional aesthetic is desired.
- Glass: Used for high-end, sophisticated signs, glass can be etched, painted, or backlit for a striking effect.
- Foam Board: For temporary or indoor signage, foam board is lightweight, inexpensive, and easy to work with.
Each material has its advantages and disadvantages, making it essential to select the best option based on the sign’s intended use. For instance, metal signs are highly durable but can be more expensive and heavier, while plastic signs offer a good balance between cost and flexibility.
Step 3: Manufacturing
The manufacturing phase is where the design comes to life. This process varies depending on the chosen materials and the type of sign being produced. Key manufacturing techniques include:
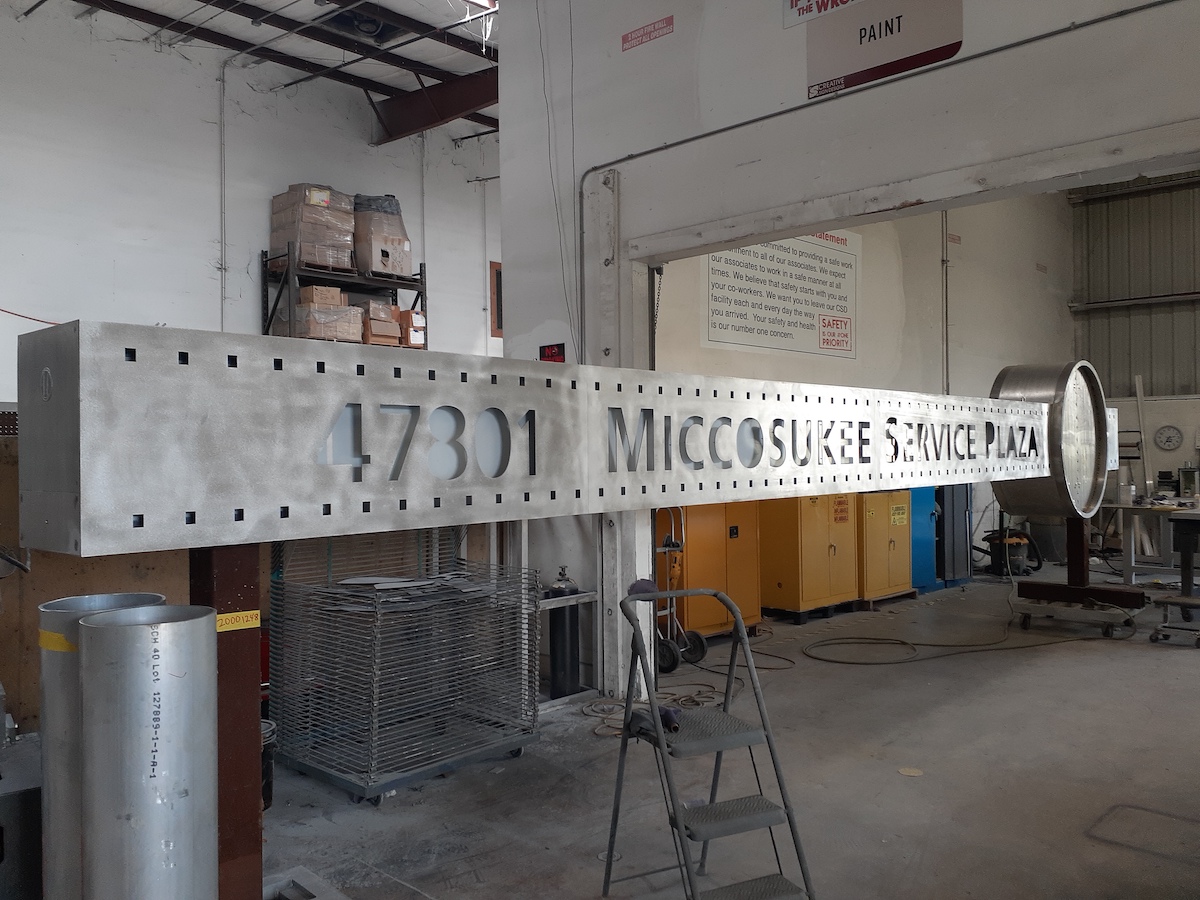
- Cutting: Materials like metal, plastic, and wood can be cut using tools such as laser cutters, plasma cutters, or CNC machines. These methods ensure precision and consistency in the final product.
- Molding: Plastic signs can be molded into various shapes using injection molding or thermoforming techniques.
- Printing: Advanced printing technologies allow for high-resolution graphics and text to be applied to the sign material. UV printing, screen printing, and digital printing are common methods.
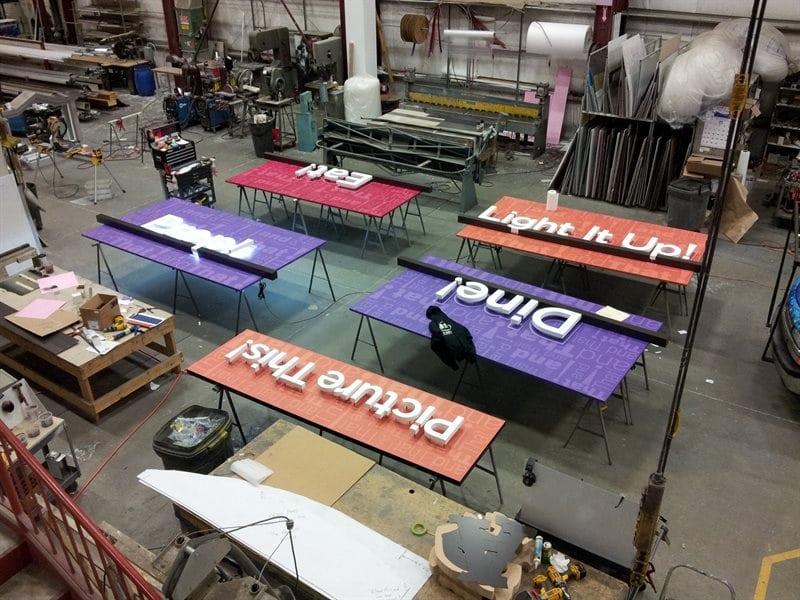
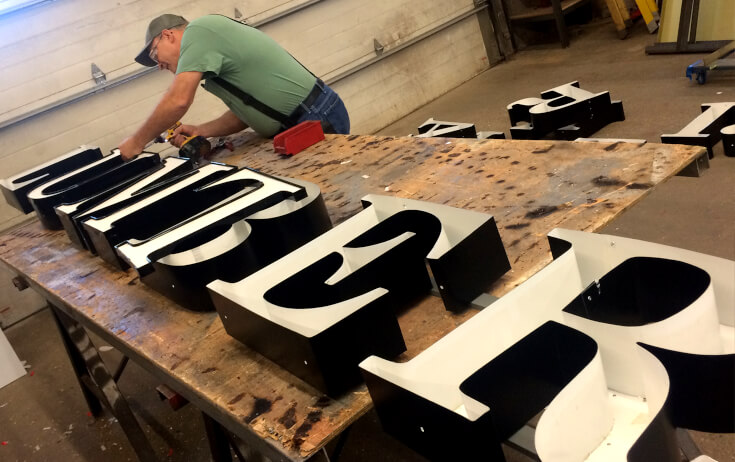
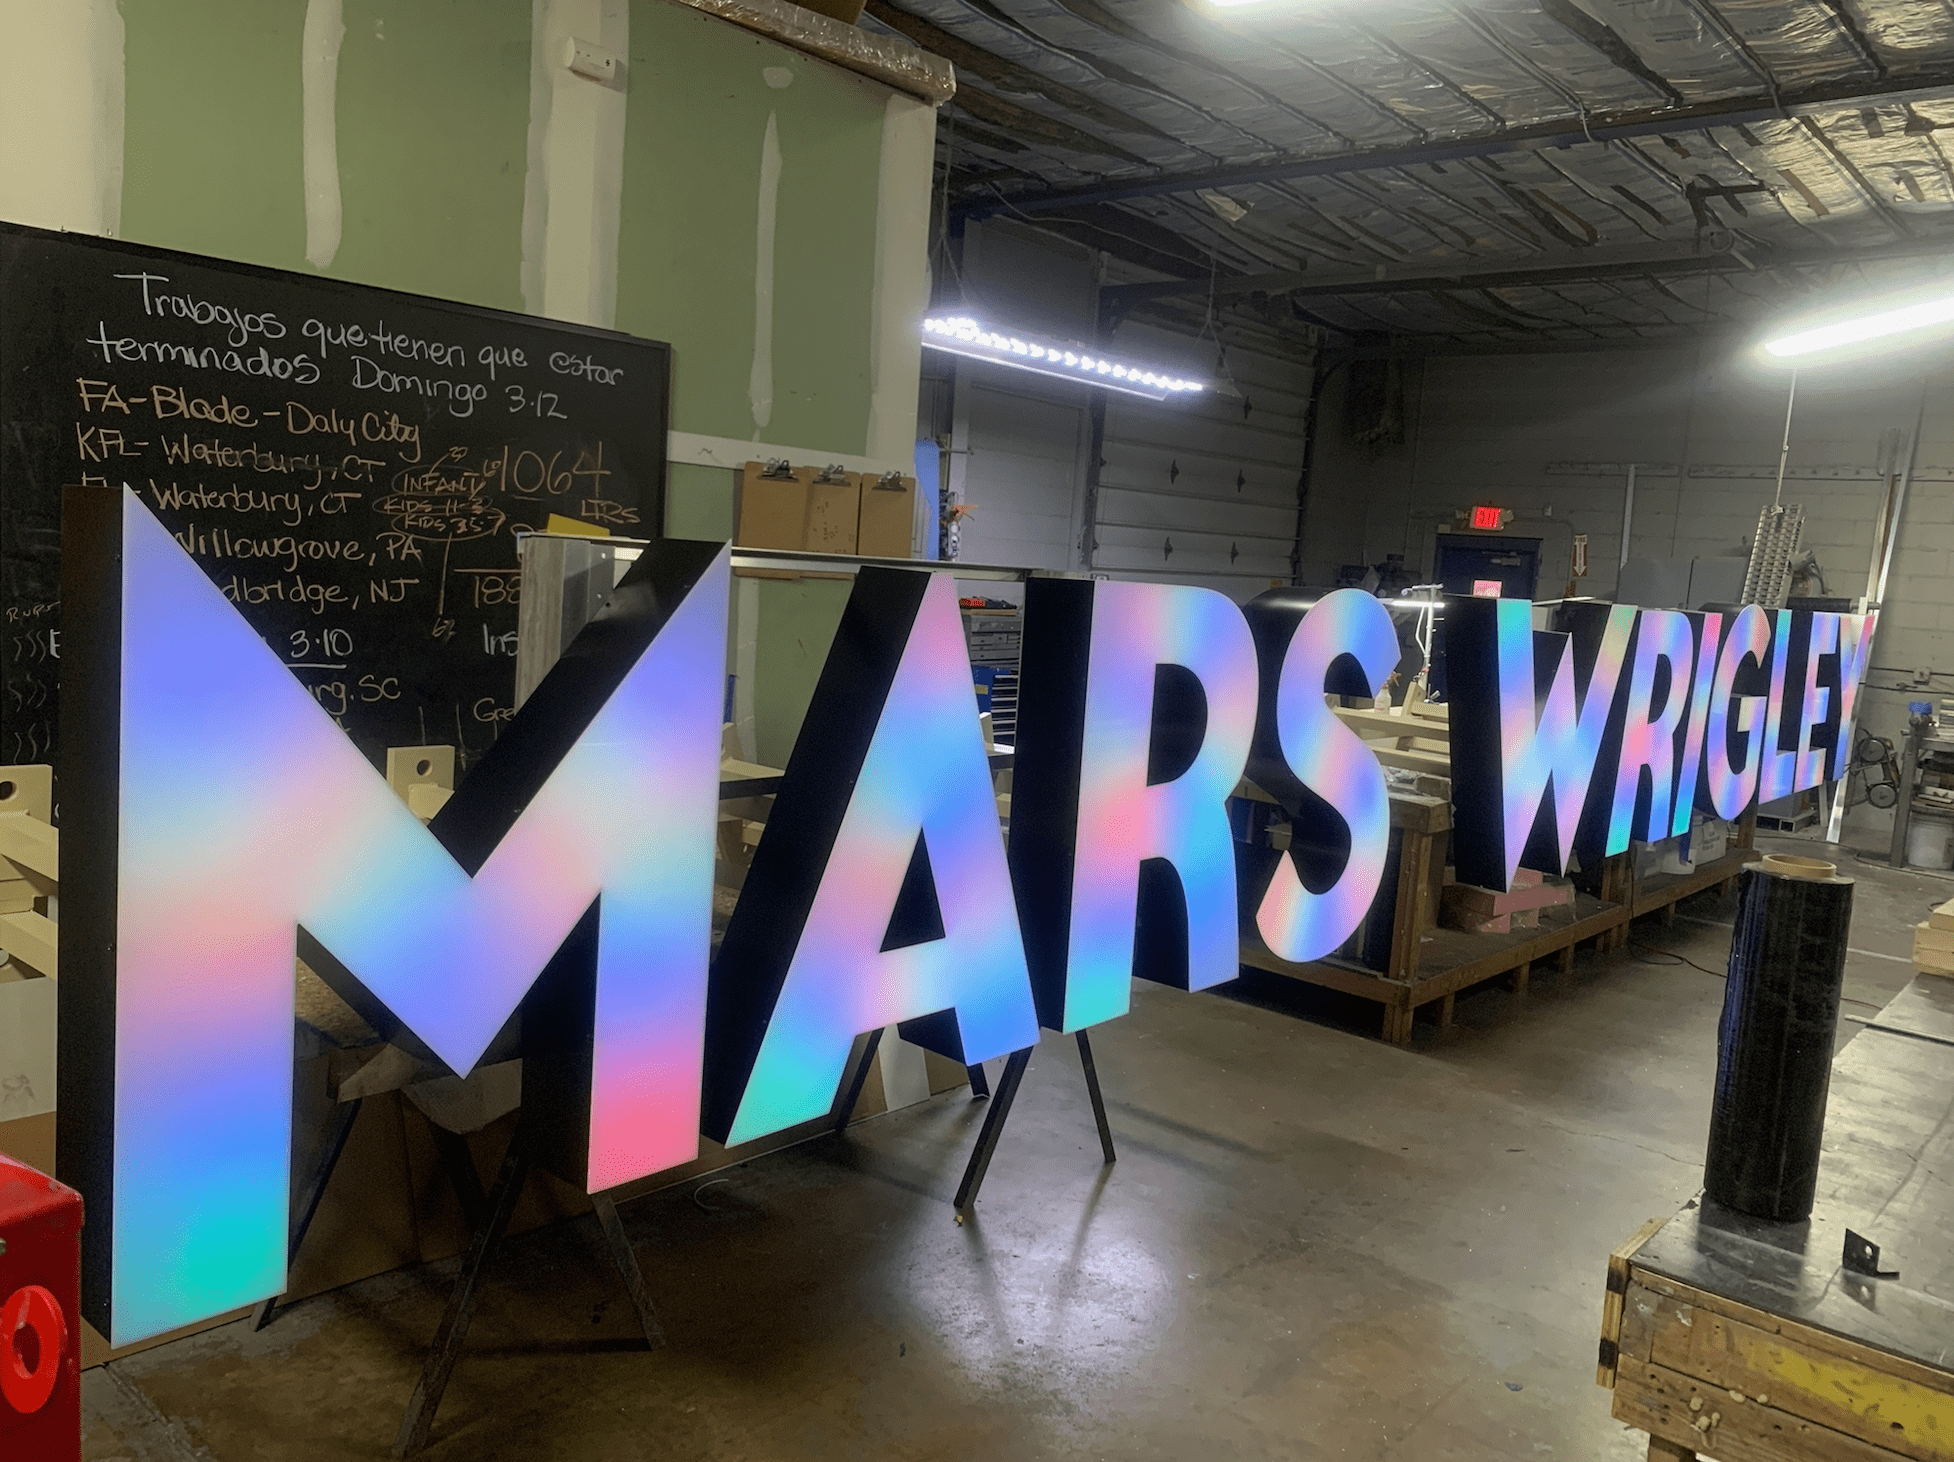
- Assembly: For complex signs that involve multiple components, assembly is a critical step. This may include attaching letters to a backing, integrating lighting elements, or constructing the sign frame.
- Finishing: The final touches, such as painting, coating, or applying protective layers, enhance the sign’s appearance and longevity.
Quality control is paramount during manufacturing to ensure the sign meets all design specifications and client expectations. Regular inspections and testing help identify any issues early in the process, allowing for timely adjustments.
Step 4: Installation
Once the sign is manufactured, the next step is installation. Proper installation is vital to ensure the sign is stable, secure, and positioned for optimal visibility. The installation process varies depending on the type of sign and its location. Common installation methods include:
- Wall-Mounted Signs: These signs are attached to building facades or interior walls using brackets, screws, or adhesive. Proper anchoring is essential to prevent the sign from falling or shifting.
- Freestanding Signs: Often used for outdoor advertising or wayfinding, freestanding signs require a sturdy base. This may involve digging a foundation, pouring concrete, and securing the sign with bolts or brackets.
- Hanging Signs: Suspended from ceilings or overhangs, hanging signs need strong support structures to ensure they remain safely in place.
- Window Graphics: Applied directly to glass surfaces, window graphics use adhesives or static cling technology for easy installation and removal.
Installation should be carried out by professionals with experience with the specific type of sign and the tools required. Safety is a top priority, and all installations must comply with local building codes and regulations.
Step 5: Maintenance
Regular maintenance is essential to preserve the appearance and functionality of the sign over time. A well-maintained sign can last for many years, continuing to attract attention and convey important messages. Maintenance tasks include:
- Cleaning: Regular cleaning removes dirt, dust, and debris that can accumulate on the sign’s surface. For outdoor signs, this may involve power washing or using specialized cleaning solutions.
- Repainting: Over time, the sign’s paint may fade or chip. Repainting helps restore its original look and protect it from further damage.
- Repairs: Addressing any damage, such as cracks, dents, or broken lighting elements, ensures the sign remains in good condition.
- Inspections: Routine inspections help identify potential issues before they become significant problems. This includes checking the sign’s structural integrity, electrical components, and mounting hardware.
A proactive maintenance plan helps extend the sign’s lifespan and ensures it continues to make a positive impact.
Conclusión
Signage manufacturing is a comprehensive process that involves several critical steps: design, material selection, manufacturing, installation, and maintenance. Each phase plays a vital role in creating a sign that meets the client’s needs, adheres to regulations, and withstands environmental conditions. By understanding and carefully managing each step, businesses can create effective signage solutions that enhance their visibility and communication efforts.
Working with a reputable signage manufacturer is key to achieving the desired results. Professional manufacturers bring expertise, experience, and quality control measures that ensure the final product is of the highest standard.
Preguntas más frecuentes
Q1: Why is signage important for businesses?
- A1: Signage helps attract customers, convey important information, enhance brand visibility, and guide people within a space. It plays a crucial role in marketing and communication strategies.
Q2: What factors should be considered during the design phase?
- A2: Key factors include understanding client requirements, ensuring visual appeal and legibility, choosing appropriate materials and colors, selecting readable typography, and complying with local regulations.
Q3: How do I choose the right material for my sign?
- A3: Consider the sign’s purpose, location, and environmental conditions. Each material has its strengths and weaknesses, so it’s important to select one that balances durability, cost, and aesthetic appeal.
Q4: What are common manufacturing techniques for signs?
- A4: Common techniques include cutting (using laser, plasma, or CNC machines), molding (for plastic signs), printing (UV, screen, or digital), assembly, and finishing (painting or coating).
Q5: What are the different installation methods for signs?
- A5: Installation methods vary by sign type and location, including wall-mounted signs, freestanding signs, hanging signs, and window graphics. Proper installation ensures stability and visibility.
Q6: How often should signs be maintained?
- A6: Regular maintenance, including cleaning, repainting, repairs, and inspections, is essential. The frequency depends on the sign’s material, location, and exposure to environmental factors.
Q7: Can I install the sign myself?
- A7: While some simple signs can be installed by the owner, professional installation is recommended for most signs to ensure safety, compliance with regulations, and optimal positioning.
Q8: How do I ensure my sign complies with local regulations?
- A8: Working with a reputable signage manufacturer who understands local codes and regulations is crucial. They can guide you through the design and installation process to ensure compliance.
Q9: What should I do if my sign gets damaged?
- A9: Promptly address any damage by cleaning, repainting, or repairing the sign. Regular inspections can help identify issues early, preventing further damage and extending the sign’s lifespan.
Q10: How can I maximize the impact of my signage?
- A10: Ensure the sign is well-designed, uses high-quality materials, is installed in a prominent location, and is regularly maintained. Working with experienced signage professionals can also help achieve the best results.




Deja un comentario